Stop Digging: The One Change That Will Save Your Back and Double Your Harvest
Let’s be honest. You’ve just inherited a plot of solid, weed-choked clay. The previous tenant let it go, and the ground is packed with bindweed roots and dormant weed seeds. Your first instinct is to get the spade out, turn it all over, and start fresh. I did exactly that on my first plot. I spent three weekends in agony, double-digging a 10×5 metre patch. By the following June, I had more annual weeds than crops.
There is a better way. No dig allotment gardening for beginners isn’t about being lazy. It’s about working with soil biology instead of against it. Every time you dig, you expose dormant weed seeds to light, destroy the delicate fungal networks (mycorrhizae) that feed your plants, and collapse the soil structure. The Charles Dowding method flips this on its head. You smother the weeds with cardboard, pile on compost, and plant directly. The soil stays undisturbed, worms do the tilling for you, and your weed count drops by 90% in the first year.
Why No Dig is a Non-Negotiable for Beginners
If you are a ‘New Plotter’ staring at a derelict patch, the no dig method is your fastest route to a productive plot. The core principle is simple: feed the soil, not the weeds. By layering organic matter on top, you create a rich, textured growing medium that drains well in our wet UK winters and holds moisture during dry spells. On heavy clay, this is revolutionary.
Here is the science bit. Soil is not dirt. It is a living ecosystem. A single teaspoon of healthy soil contains more microorganisms than there are people on Earth. Digging destroys the habitats of these creatures, particularly the earthworms and fungi that create stable soil aggregates (crumbs). According to research from Garden Organic, no dig systems can increase soil organic matter by up to 4% over three years compared to dug plots. More organic matter means better water retention and nutrient availability.
Your first year goal is not perfection. It is suppression. You want to kill the perennial weeds (couch grass, dandelions, docks) without breaking your back. Cardboard is your weapon.
Step-by-Step: Building Your First No Dig Bed
Let’s get practical. This is the exact method I have used to transform over 20 derelict plots on my allotment site. You will need:
- Corrugated cardboard (remove all tape and staples). Avoid shiny, coated boxes.
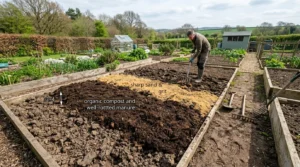
- Well-rotted compost or manure (mushroom compost is excellent, or your own homemade stock).
- A sharp knife or scissors.
- A watering can.
Step 1: Mow or strim the existing vegetation as low as possible. This isn’t essential, but it makes the cardboard lie flat. Do not dig anything up. Just cut it down.
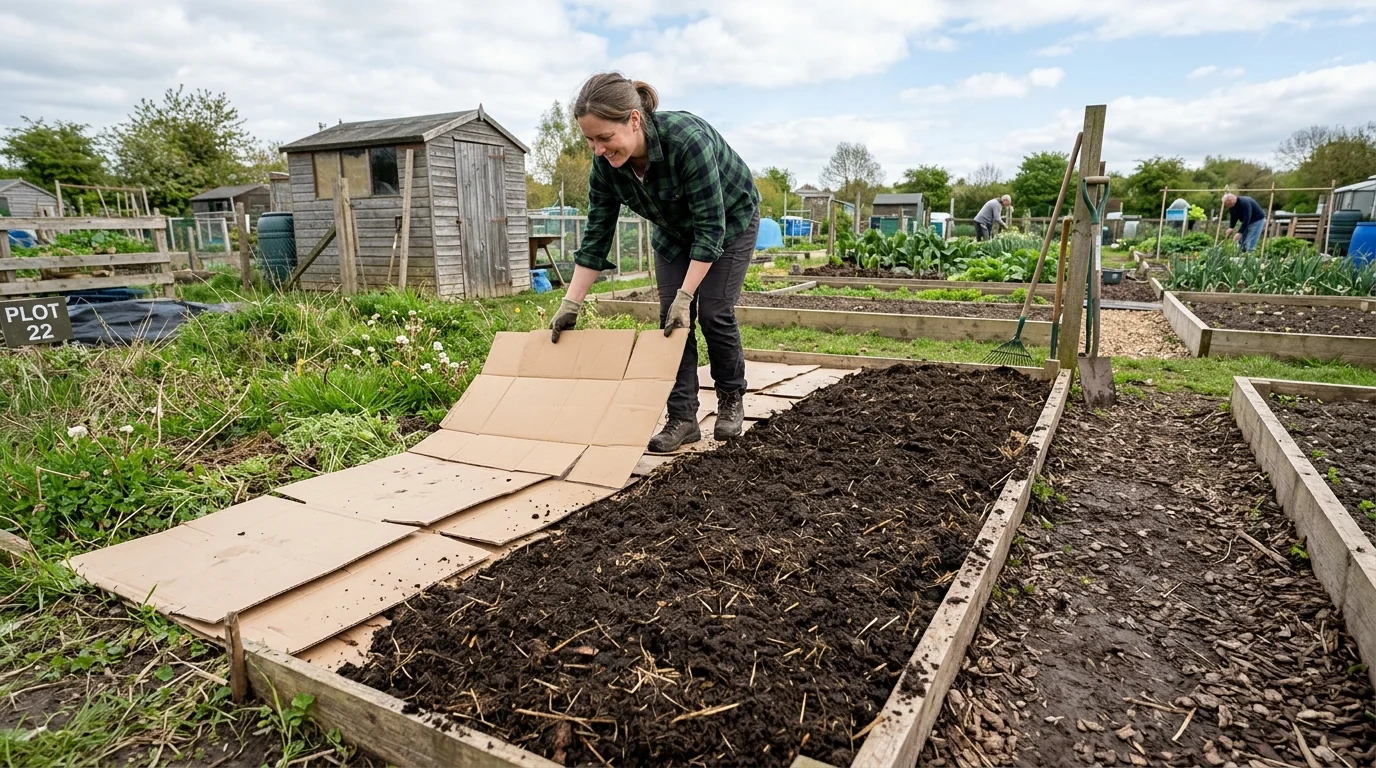
Step 2: Lay cardboard directly onto the ground. Overlap the sheets by at least 15cm so no light can escape. This cuts off all light to the weeds beneath. They will suffocate and rot away within weeks. For persistent weeds like bindweed, lay two layers of cardboard.
Step 3: Soak the cardboard thoroughly. A dry cardboard layer is useless. It needs to be wet to start breaking down and to stay in place. Use a hose or watering can.
Step 4: Apply a 10-15cm layer of compost on top. Do not be tempted to skimp. A shallow layer of 5cm will dry out quickly and weeds will push through. You want a deep, consistent blanket. For a 2.5m x 1.2m bed, you will need approximately 500 litres of compost. That sounds a lot, but it is a one-off investment.
Step 5: Plant or sow immediately. Because you haven’t dug, the compost is loose and friable. You can sow seeds directly into it (carrots, radishes, salads) or plant out modules (brassicas, onions, tomatoes). The compost provides all the nutrients they need for the first 8-10 weeks.
| Layer | Material | Purpose |
|---|---|---|
| 1 (Bottom) | Cardboard (15cm overlap) | Smothers weeds, blocks light |
| 2 (Middle) | Water (soak cardboard) | Activates decomposition, weights it down |
| 3 (Top) | Well-rotted compost (10-15cm) | Growing medium, feeds plants |
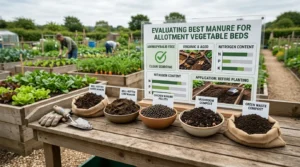
Choosing Your Compost: Don’t Buy Cheap Rubbish
The single biggest mistake I see in no dig allotment gardening for beginners is using poor quality compost. You need organic matter that is well-rotted and stable. Fresh manure will burn your plants. Peat-based compost is an environmental disaster and dries out like a brick.
The best options for UK plotters:
- Mushroom compost: Excellent for brassicas and root veg, but avoid for acid-loving plants like blueberries. It has a high pH (around 7.5).
- Green waste compost: Widely available from council recycling centres. It is cheap and consistent, but can sometimes contain weed seeds if not processed correctly. Let it sit for a month before using.
- Your own homemade compost: The gold standard. You control the inputs. Aim for a 50:50 mix of green (grass clippings, veg peelings) and brown (cardboard, wood chips) materials.
A note on the ‘Charles Dowding method’: Charles famously uses a very fine, sieved compost for his market garden. Home composters don’t need to sieve. Lumps are fine. They break down over the season and provide habitat for beetles that eat slugs.
Slugs: The No Dig Enemy (And How to Beat Them)
I am an ‘Eco-Warrior’ at heart, and I hate using slug pellets. The no dig method can create a slug haven because it is moist and cool. However, the benefits of the system far outweigh this issue if you use biological controls.
Here is my slug strategy:
- Nematodes (Steinernema feltiae): These microscopic worms are watered into the soil. They actively hunt and kill slug larvae underground. Apply in April and again in July. It costs about £10-15 per treatment, but it is 100% organic and safe for wildlife. Available from Garden Naturally or Birds & Bees.
- Copper tape: Place a ring of copper tape around the edge of your raised beds. It gives slugs a slight electric shock. Works brilliantly for potted plants.
- Beer traps: Sink a plastic cup into the compost so the rim is level with the surface. Fill with cheap lager. Check daily. This is a control, not a cure.
Do not use sharp grit or eggshells. Recent studies from the RHS show slugs can glide over them. They are a waste of time.
Your First Year Planting Plan (No Dig Specific)
Because you have not dug the soil, the compost layer is the only source of food for your plants in year one. Choose crops that thrive in this rich, loose medium.
| Month | What to Plant | Why it Works in No Dig |
|---|---|---|
| April | Potatoes (e.g., Charlotte, Foremost) | They push up through the compost easily. No need to earth up heavily. Just add more compost as they grow. |
| May | Beans (Broad, Runner), Courgettes | Deep rooted crops love the loose structure. Water retention helps them through dry spells. |
| June | Brassicas (Cabbage, Kale, Calendula) | Compost provides steady nitrogen. Use nematodes for cabbage root fly. |
| July | Leeks, Winter Cabbage | Transplant into the compost. No need to trench or dibble deeply. |
| September | Autumn onions, garlic | Plant directly into the compost. The soft surface allows deep rooting before winter. |
Common Beginner Mistakes in No Dig
1. Using too little compost. I see plotters lay a 5cm layer and wonder why weeds push through. 10-15cm is non-negotiable for the first year. After year one, you only need to top up with 2-3cm annually.
2. Forgetting to water the cardboard. Dry cardboard is a wind hazard. It will blow away and expose your weeds. Soak it until it is heavy and limp.
3. Planting seeds too deep. The compost is loose. Small seeds like carrots and lettuce only need a 1cm covering. Press the soil down gently after sowing to ensure seed-to-soil contact.
4. Ignoring perennial weeds in the cardboard gap. If you have a gap between cardboard sheets, weeds will find it. Overlap by at least 15cm. For bindweed, use two layers and secure the edges with soil or stones.
The Long-Term Payoff
By year two of no dig allotment gardening, you will notice a dramatic shift. The soil beneath the cardboard will be dark, crumbly, and full of earthworms. The weed seed bank in the top layer will be exhausted. You will spend less than 10 minutes a week weeding a standard plot. Your harvests will be consistent, and your soil will be alive.
The Charles Dowding method isn’t a fad. It is the most efficient way to manage a UK allotment with minimal physical labour and maximal biological output. Start with a small 1.2m x 2.5m bed this weekend. Get the cardboard, get the compost, and watch the magic happen. Your back will thank you next spring.
Frequently Asked Questions
Q: Can I use any cardboard?
A: Yes, but avoid shiny, coated boxes (like pizza boxes) and remove all plastic tape. Corrugated cardboard breaks down fastest. Plain brown cardboard is best.
Q: Do I need to remove existing weeds first?
A: No. That is the point of the method. The cardboard smothers them. For woody weeds like brambles, cut them at ground level first, then lay cardboard.
Q: How much compost do I need for a 10m x 5m plot?
A: For a 10cm depth, you need about 5,000 litres. That is roughly 2.5 cubic metres. Order it in bulk from a local supplier. It is cheaper than buying bags.
Q: Will slugs be worse under cardboard?
A: They can be, because it stays damp. Use nematodes in spring and remove any slugs you see at dusk. The trade-off is far fewer weeds and better soil health.